
Spendella / Knowledge base
Import a bank statement
Bring transactions in from a file and check the results before adding them to your records.
This guide covers the free plan — setting it up yourself takes a minute.Get started free →
Updated 7 September 2026
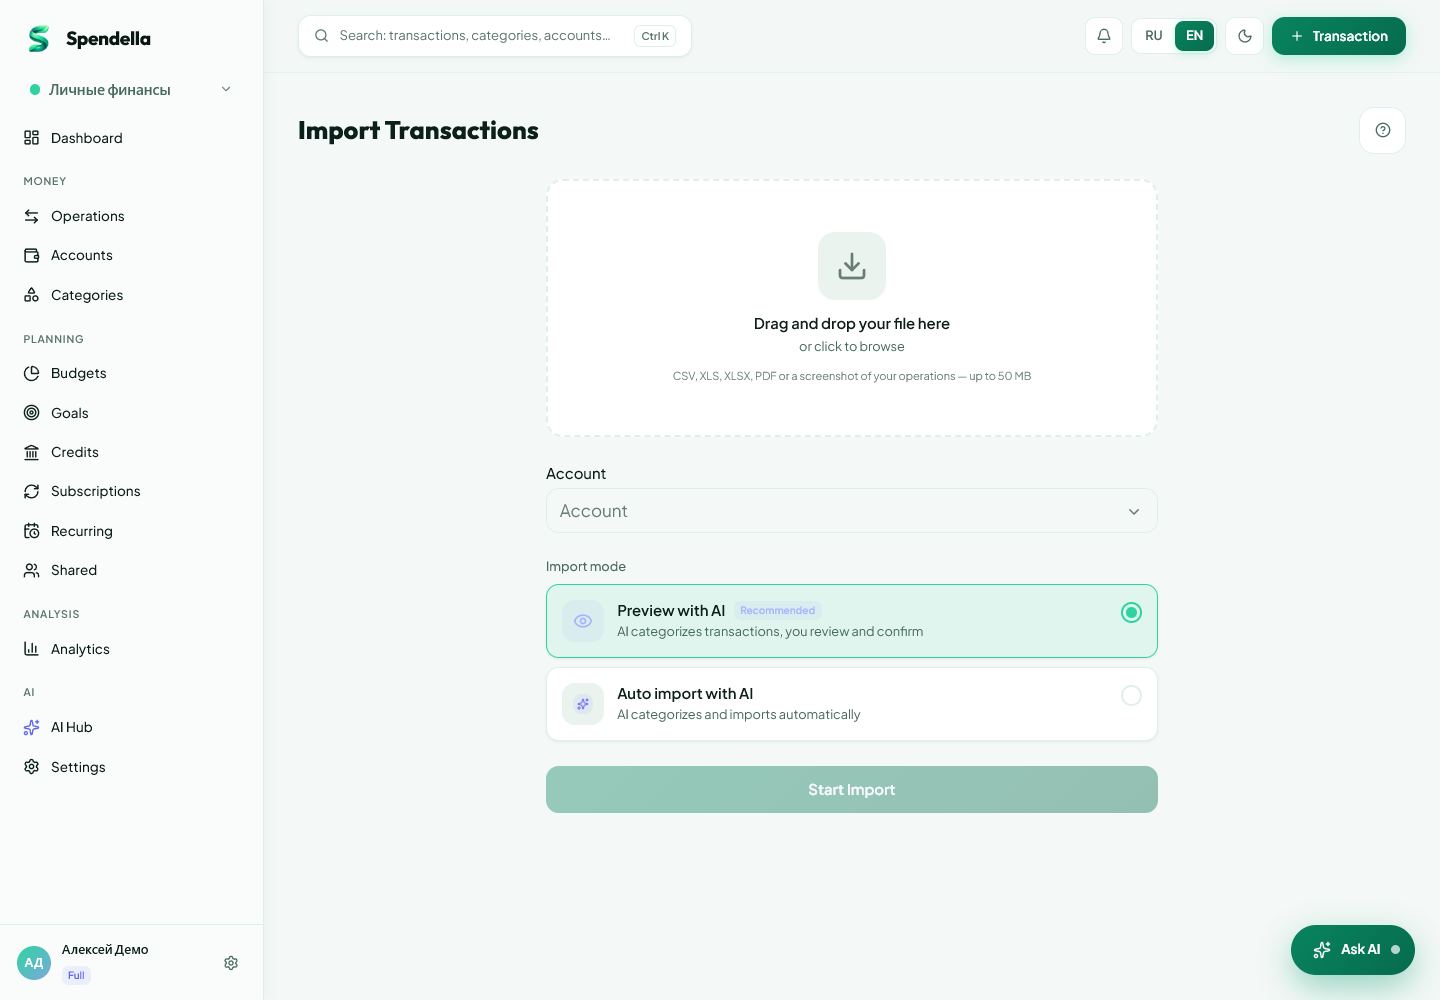
Where to find it
- On the website
- Menu → Import.
- On Android
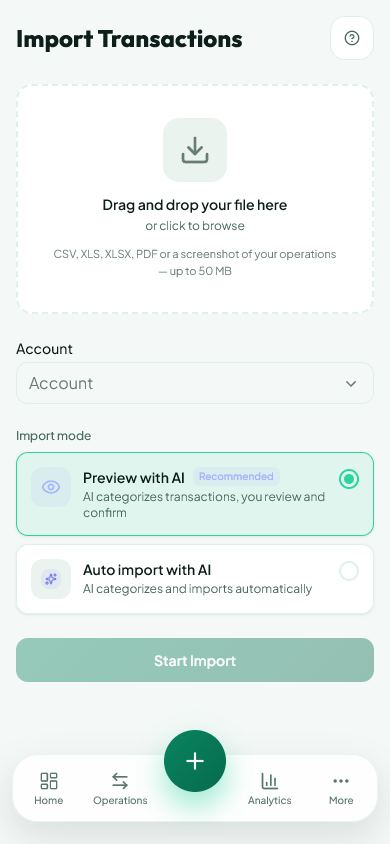
- Transactions → import or More → AI Hub → statement import.
Prepare your file
Download a statement for the period you need from your bank’s app or website. The import screen lists supported formats; use that list as your reference.
- Open Import in Spendella.
- Choose an account and mode. Use AI preview for your first file to review rows before adding them.
- Upload your file and wait for processing.
- Start with a short period so the results are easier to check.
Review the recognised rows
Statements may include totals, fees and transfers between your own accounts. Recognition can misread them. The preview lets you catch these mistakes.This review applies to preview mode. Automatic and quick import can add entries without this step.
- Compare a few amounts and dates with the statement.
- Check transaction types and categories. Your own transfers should not become ordinary purchases.
- Review which rows are selected and confirm only the ones you need.
If an import fails
Do not keep uploading the same file. First check the import status and the transactions already added.
- If the format is unsupported, try another format offered by both your bank and the import screen.
- Correct recognised data before confirming, or enter the transaction manually.
- When contacting support, include the file format and error message. Avoid sharing a full statement with account details unnecessarily.
What you should see
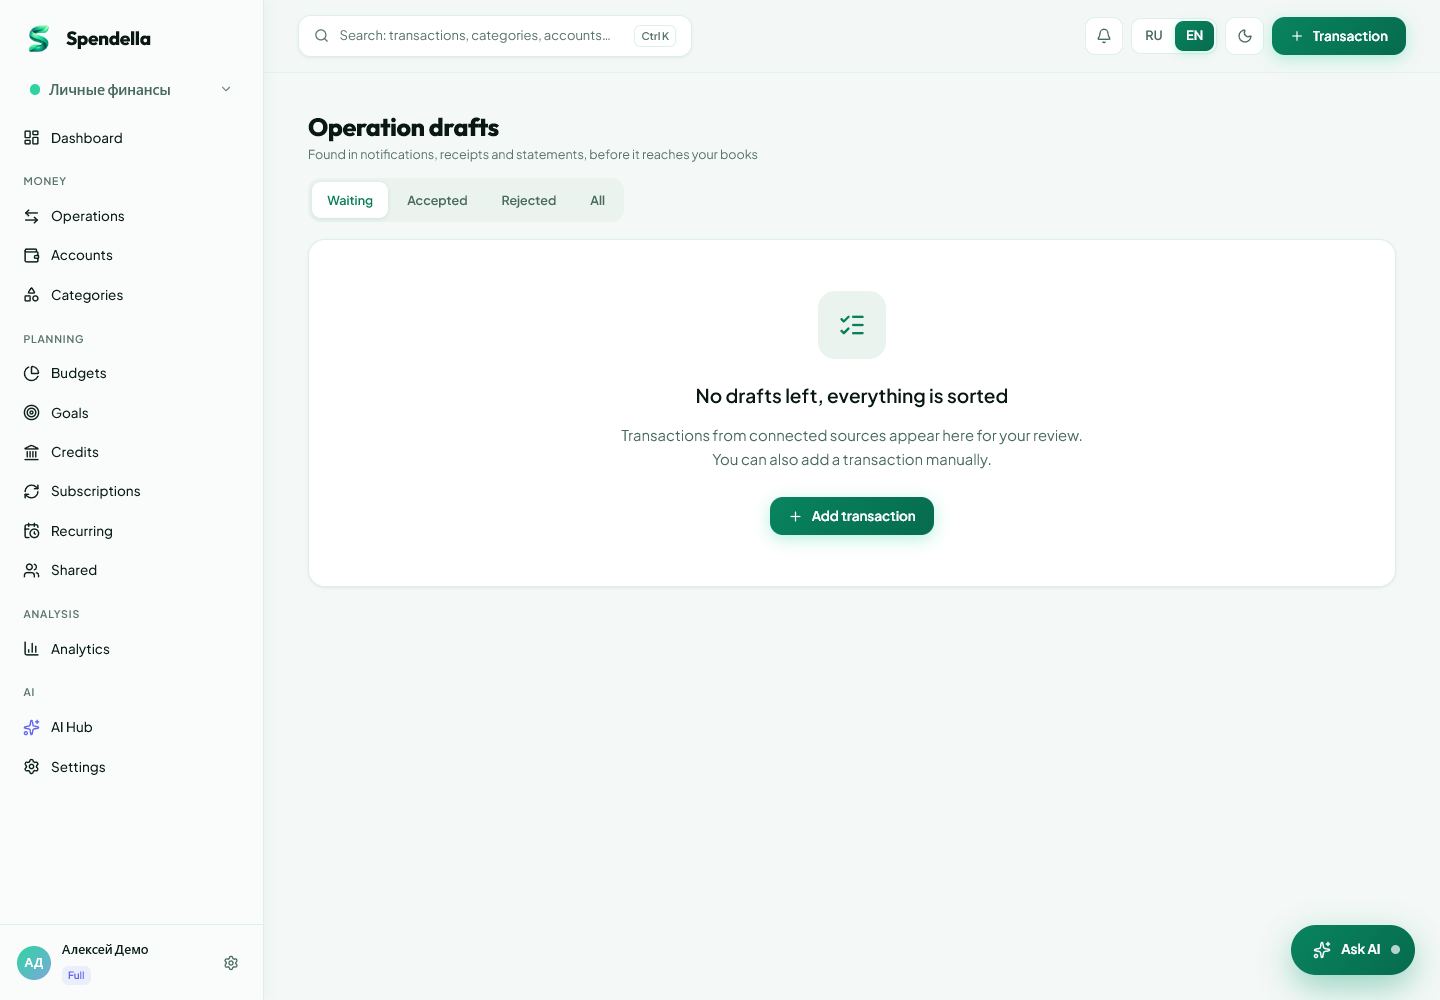
Statement transactions are added according to the chosen import mode.
Everything above is free.
No time limit, no card. Sign up and we open the section this guide is about.
Still need help?
Tell us which step you got stuck on. Support can help you work through it.
Contact support ↗Contact us without signing in