
Spendella / Knowledge base
Your first steps in Spendella
Add one account and your first expense. That is enough to start seeing where your money goes.
This guide covers the free plan — setting it up yourself takes a minute.Get started free →
Updated 7 September 2026
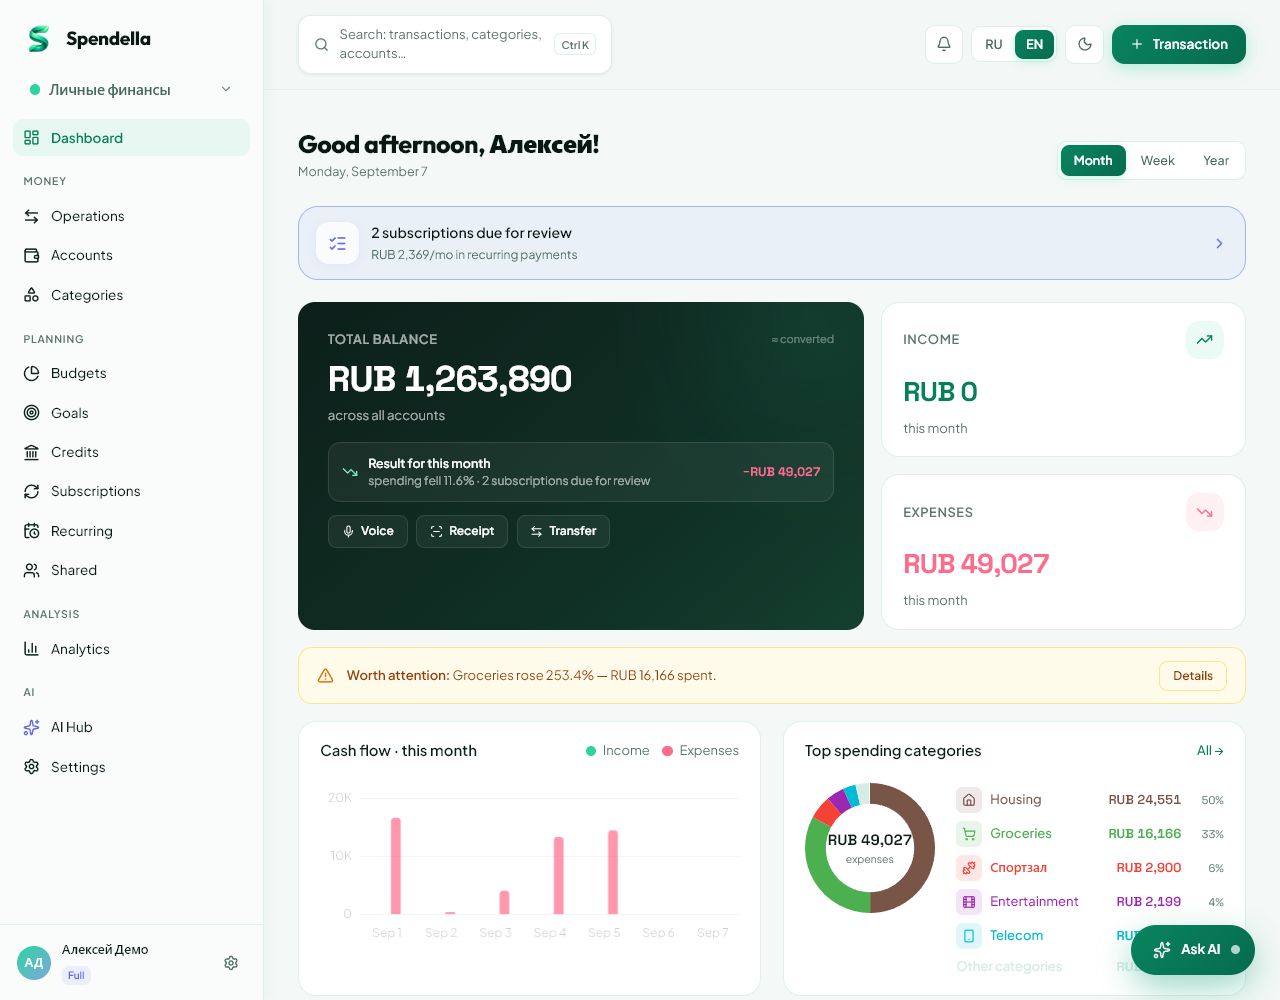
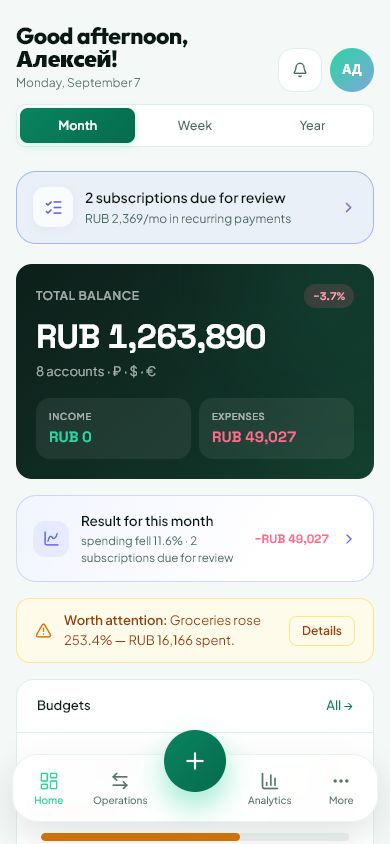
Where to find it
- On the website
- Home; Accounts and Transactions.
- On Android
- Home and More.
Start with one account
You do not need to transfer your entire financial history. Start with the card or cash you use most often.
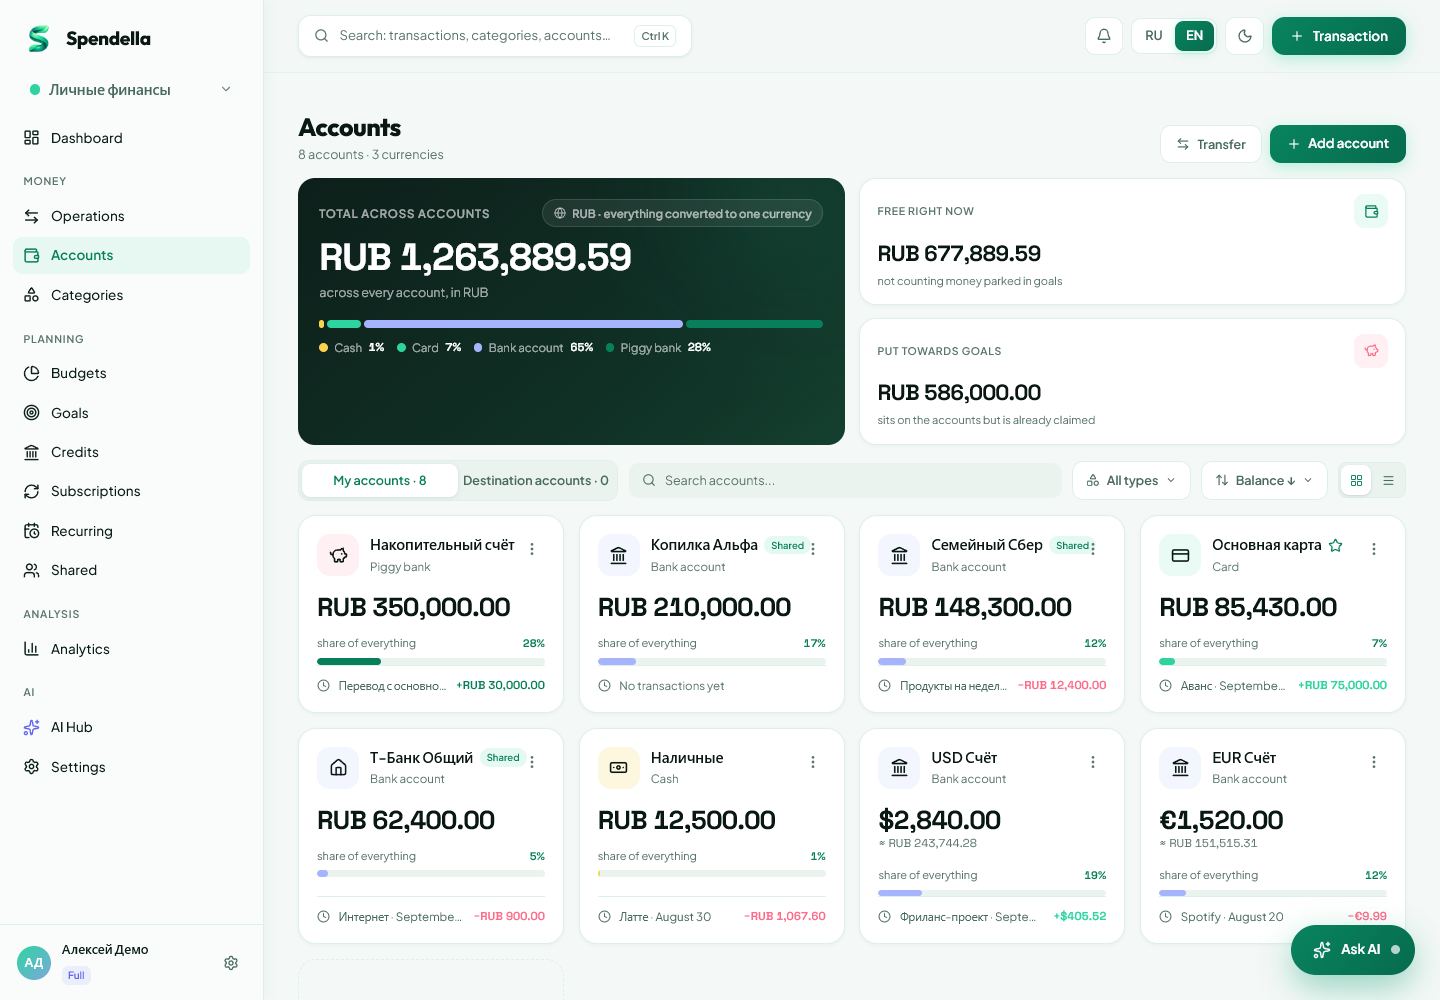
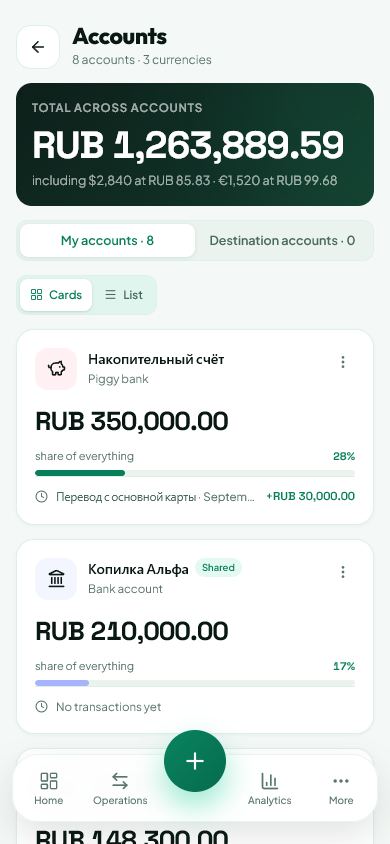
- Open Accounts and add an account.
- Give it a recognisable name, such as “Everyday card”.
- Choose its currency and enter the current balance. This is what you have now, not your income for the month.
Record your first purchase
Tap the plus or add-transaction button. Choose an expense, then enter the amount, account and category. For example: 450 RUB, “Everyday card”, “Groceries”.
- Check the date: record yesterday’s purchase with yesterday’s date.
- Save it and find the entry in Transactions.
- If you add older purchases, check the balance so you do not count them again in the opening balance.
Check the result
Your home screen will now show your data. Analytics becomes more useful as you add entries: one expense does not describe a month of habits.
- Record purchases for a few days or import a statement.
- Start with a few clear categories. Add more detail later.
- Registration includes a 7-day free trial. Check billing for current plan features.
What you should see
Your first account and purchase are recorded.
Everything above is free.
No time limit, no card. Sign up and we open the section this guide is about.
Still need help?
Tell us which step you got stuck on. Support can help you work through it.
Contact support ↗Contact us without signing in